After the second fix, the extension will be completed and fully functional as a living space, what work it involves depends on the purpose of the extension and can include the instillation of kitchens, electrical fixtures, plumbing fixtures, painting, flooring, internal doors, skirting, hand rails, patios and doorsteps amongst many other possibilities.
 Before all this can begin the walls and ceilings must be plastered and the floors screeded. Once done this will completely change how the space looks. Exposed dark brick and block work can form an optical illusion of making a space look smaller, but when the walls are plastered the new light space will begin to look more like the room the customer wanted.
The first step is to install any window boards by slotting them into grooves in the new windows. This could have been done earlier but it is best left late to avoid any chance of them becoming damaged.
Plasterboard
Being a quick, easy and common method of covering large areas of walls and ceilings, most houses use this method. It is fitted by screwing the plasterboard onto the studs of timber walls or directly into brick/blockwork. For a quick and easy finish it is possible to paint onto the boards with emulsion, but the quality of the finish will not be as good as if plastered. On timber stud partition walls it is recommended to double up the plasterboard on both sides in order to create more noise insulation.

The same process of fitting plasterboards is applied to ceilings with the board screwed into ceiling rafters. The bigger the gap between the rafters, the thicker the board will have to be to prevent it bending or cracking when plastered.
Plastering
Modern main walls are usually dry lined, this means it is possible to just use a skim finish plastering onto the plasterboard or even just a few coats of emulsion. However a lot of customers like having solid walls which requires a hard plastering including a base coat, and a gypsum plaster coat for smoothness.
The true skill in plastering is deciding what type of plaster to use for each surface and waiting the right amount of time to apply the second coat, too long a time and the second coat will not apply smoothly, too short and the first layer will not have set.
Dry lining is an alternative to hard plastering and can be used for a variety of reasons, it is more insulating thermally, cheaper to decorate on and dries out a lot quicker.
Types of plaster:
- One coat is a type of plaster that reduces the waiting time by allowing the plastering to be done in one layer, however this type requires more skill and patience as the trowelling off process is a lot harder.
- Bonding is a type of plaster for surfaces which other types would not stick to such as dense concrete blocks and engineering bricks. To prevent shrivelling only one layer of this should ever be used. Bonding plaster sets in two hours.
- Browning is used on normal surfaces and is applied in a thick 10mm coat to account for any walling that is not level. Browning plaster takes 2 hours to set.
- Finishing plaster is always the last coat on. It can either be applied straight onto plasterboard or on top of other layers as a skim coating and provides a very smooth finish. Finishing plaster sets in one and a half hours.
- Sand or cement render is used on the exterior of properties because it is very hard and durable, however it can also be used as a base coat where there is a risk of damp. This technique takes a few days to dry and needs to be left scratched to create friction for the next coat to stick to.

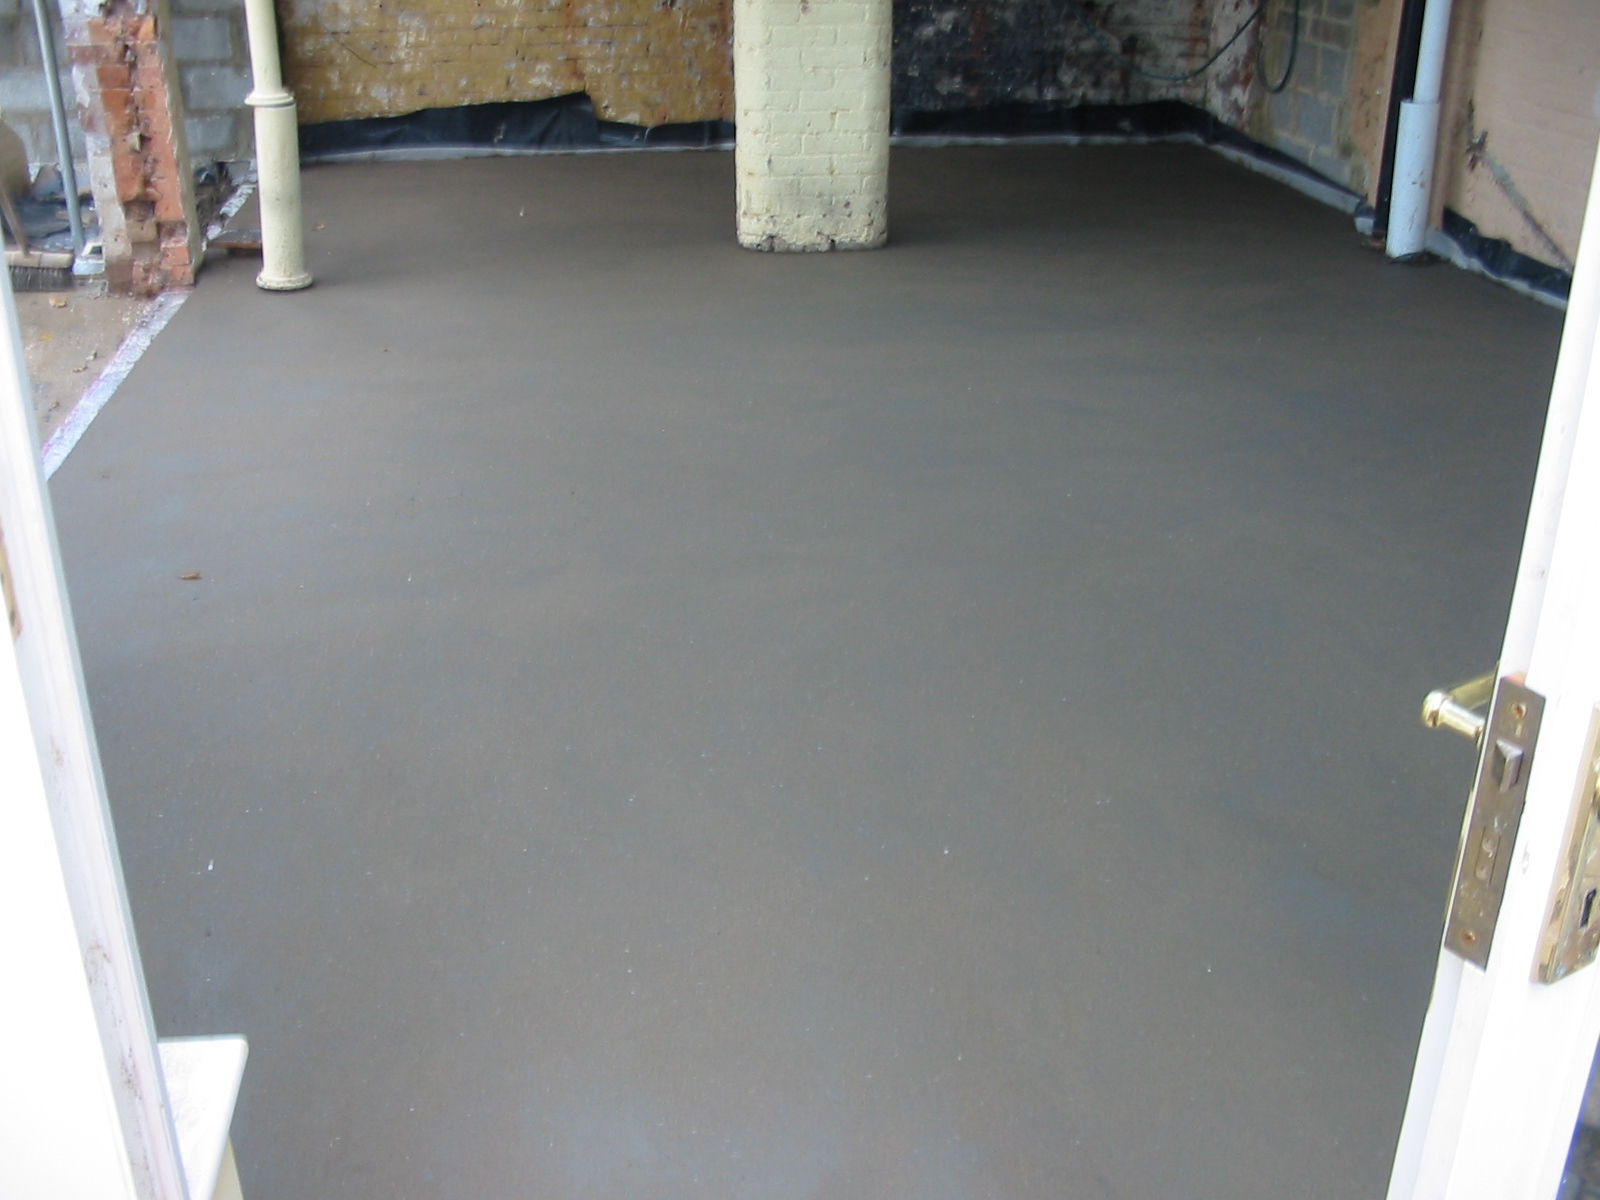
This is where a fine sand and cement layer is applied on top of the floor insulation. If during the first fix pipes and cables were laid, these will need to be built into plastic channels or ducts which will become surrounded by the screed and covered on top by screw on lids to allow access.
Screed may take a day to dry and it is important that it should be left for another two days before anybody walks on it to allow it to cure.
