
After the instillation of exterior windows and doors on the extension, the house is weather proof and secure. This means Access into the extension from the existing property can be created.
Unless the customer is lucky enough to have the extension is located so that the original back door already links the old and new, the stage ahead will be the messiest and most disruptive stage of the build as it requires knocking though the original exterior walls using angle grinders, hammers and chisels. This creates a lot of dust so it is best to close all doors in the house before beginning and those with asthma or dust allergies should be especially wary.
Once the wall is removed, the structural integrity of the rear original wall will be decreased, to fix this a rolled steel joint or concrete lintel will bridge the gap in the wall and be embedded into the walls either side. The gap above the lintel will then be filled with mortar.
Internal Walls
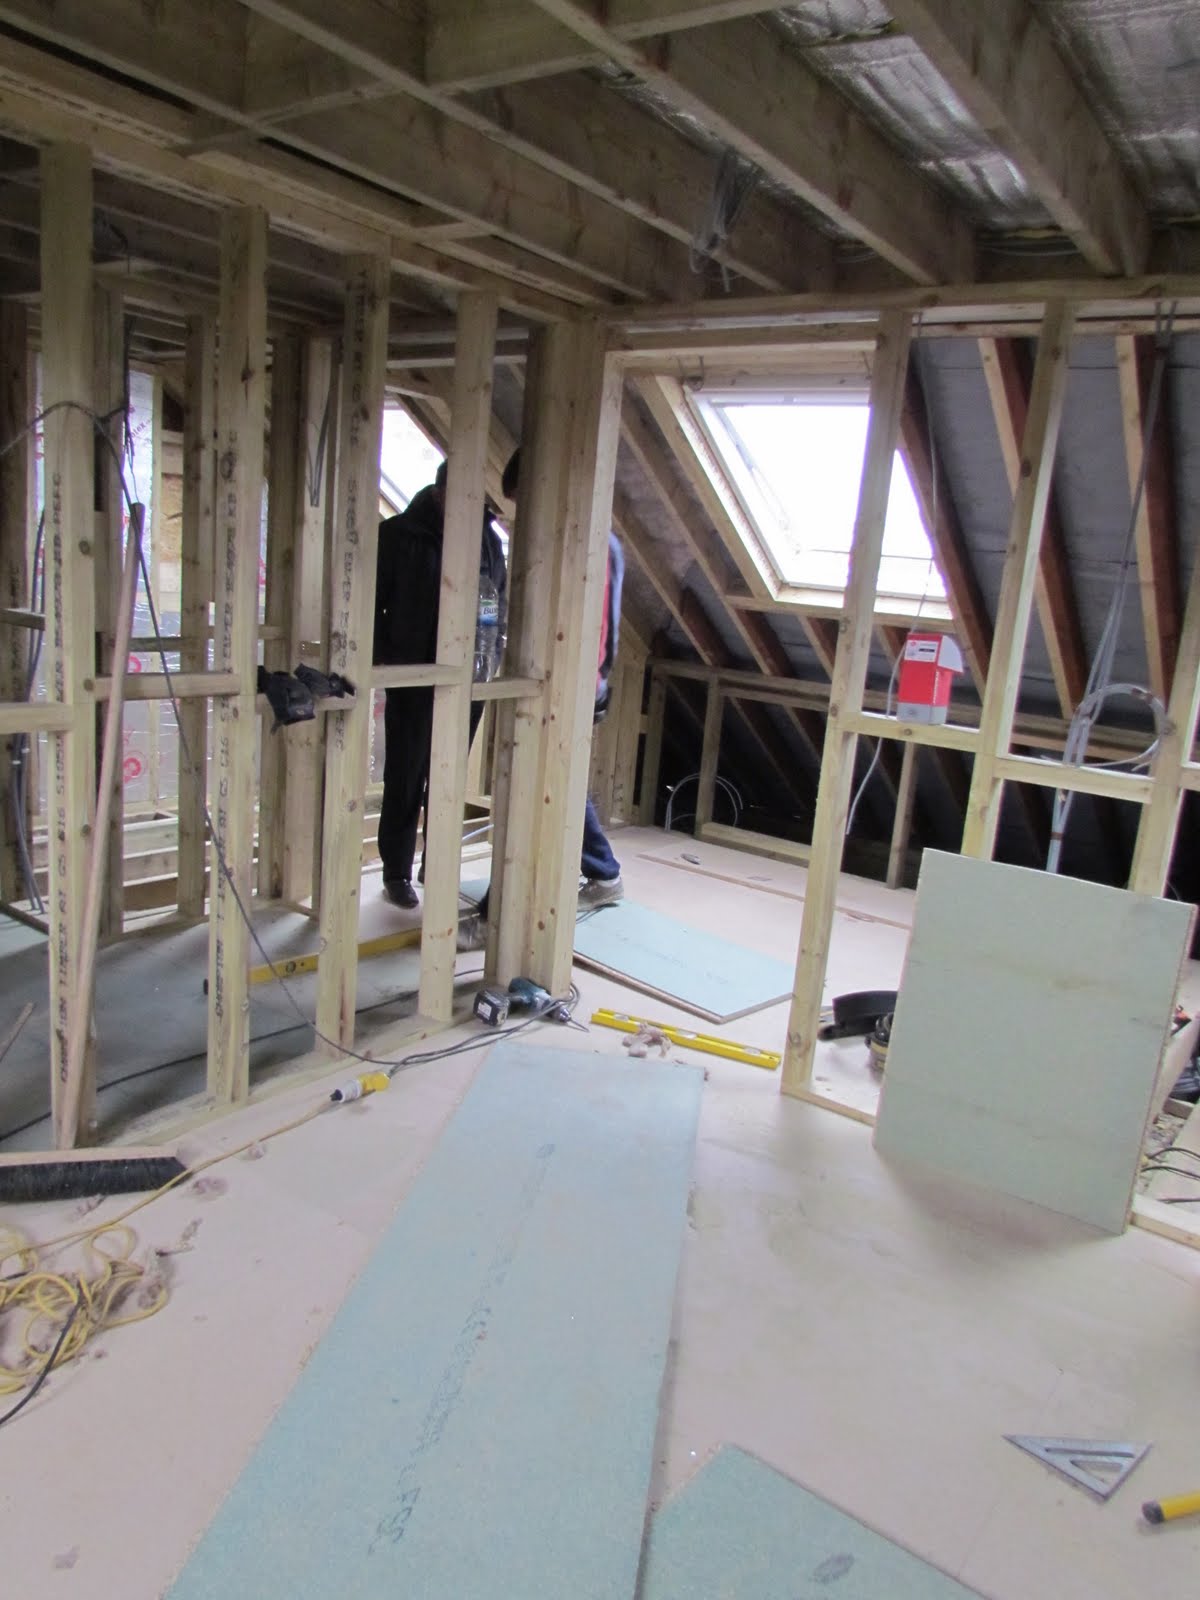
Stud Partition Walls
If required, there are several ways of constructing interior walls, the cheapest and quickest method is timber stud partition walls though they are not always the most popular due to their poor sound insulation.
These are built by fixing upright studs along the proposed wall’s position, they should be the same distance apart as the width of the plaster boards to be attached later. Horizontal studs are then fixed between the uprights to create a framework. The plasterboards and plastering only attached once the electrician has ran any necessary cables into the wall and the door linings have been installed.
Note: If stud partition walls require having items such as pictures or shelves hung on them, it is necessary to place wooden horizontal noggins where needed as the plasterboard alone will not support any additional weight.
Block Work Walls
These provide much better sound insulation than the stud walls and are also quick to build. However they are usually only suitable on the ground floor although it is possible to use a thinner lighter block for upper stories.
To build these a the floor is marked out in chalk and the block work is simply built to the rafters.
Structural Load Building Walls
If these are required, they obviously need to be built before the ceiling. It is usually better and cheaper to use stud or block work walls unless the ceiling beams need to span more than six metres.
 Flooring
There are two options with flooring which are floorboards or chipboard panels, the latter is more suited to carpets and laminate flooring and is quicker to fit. However floorboards are cheaper as they only require varnishing to finish the job.
To get the most from floorboards it is advisable to use slow grown and well- seasoned timber as it is less prone to warping and shrinking when the water content decreases. It is also best to let the floorboards become acclimatised to a central heated environment before laying them so the moisture is at less than 12%.
All chipboard panels used should be the moisture resistant variety as the non-resistant types are prone to disintegration. Unlike floorboards, if future maintenance requires that the floor is taken up, chipboard panels cannot be re-laid as it is virtually impossible to remove them without damaging them.
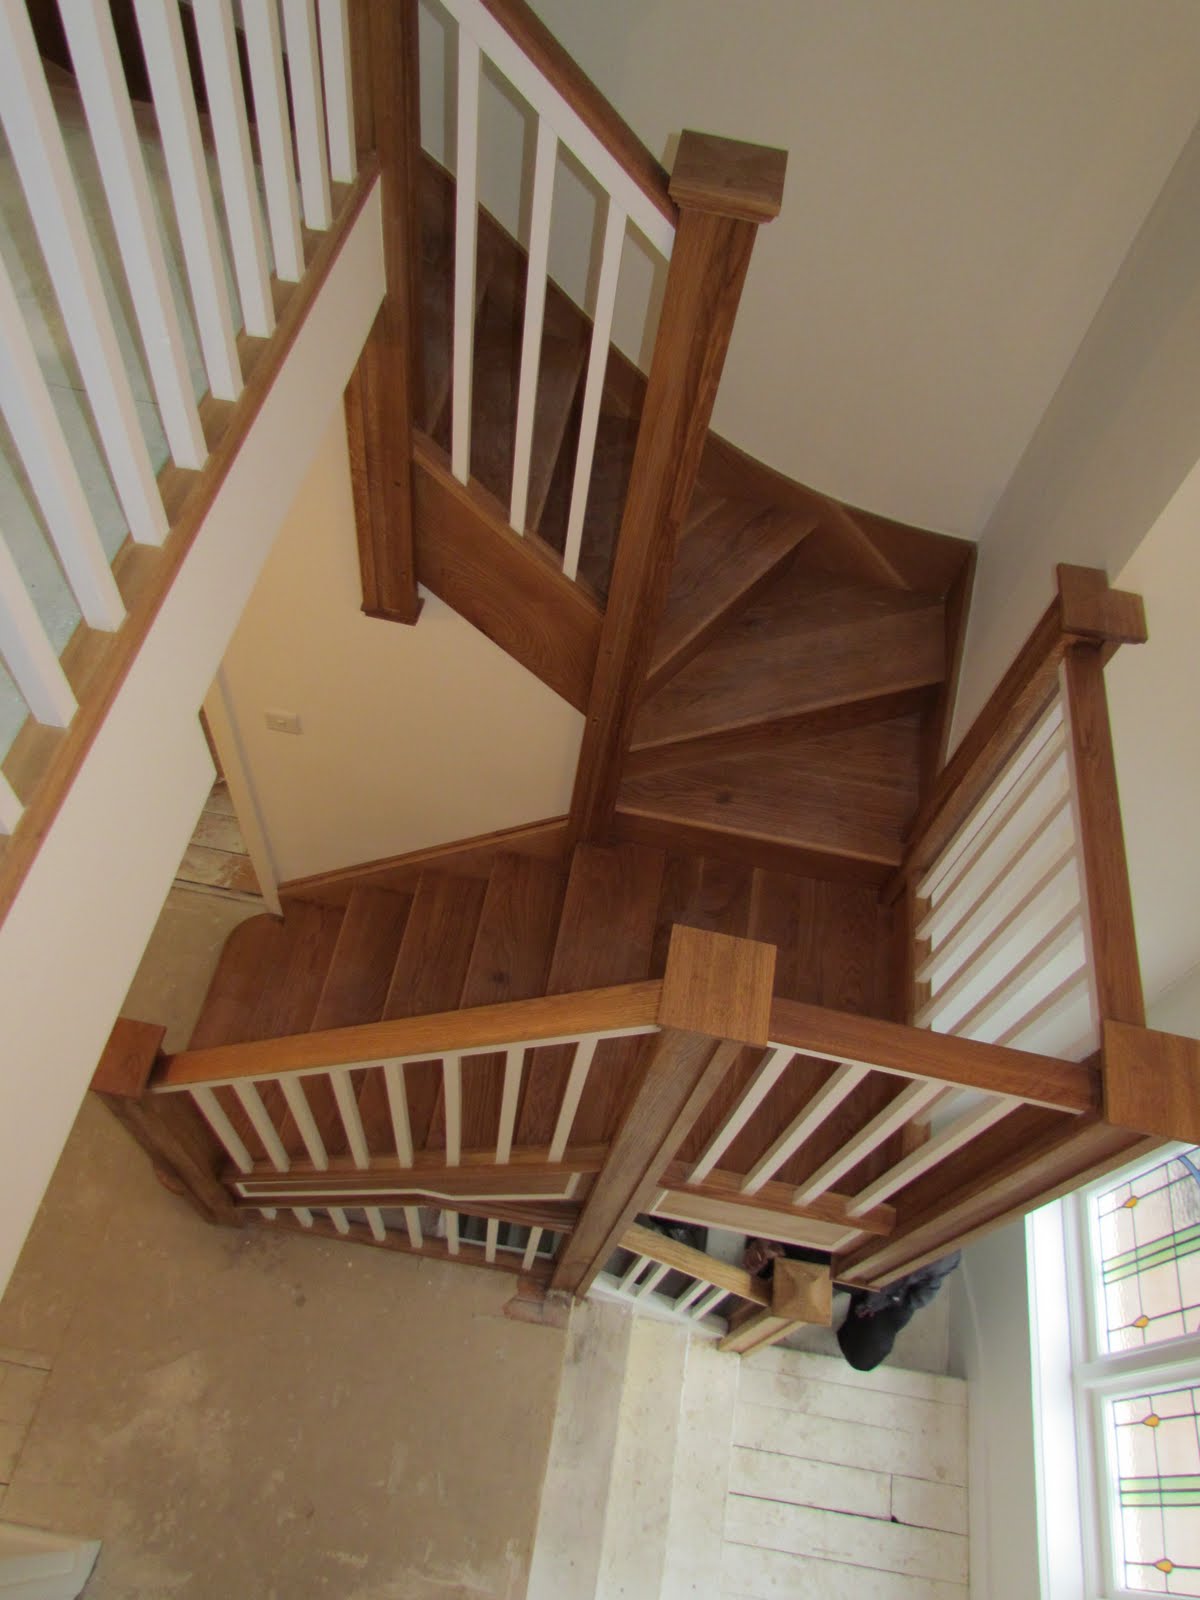
Installing Staircases
Not many extensions require stairs, a good get around on double story extensions is to knock through on the upper level as well as stairs are quite an expensive feature.
There are also a variety of building regulations with stairs to contend with which can make them impractical in small extensions. These requirements include:
- There must be a landing at least the length and width of the stair case with no doors opening outwards into it.
- Stairs can be no steeper than 42 degrees
- There must be 2 metres above each step
- Each step can be no taller than 220mm
- the horizontal flat of each step must be atleast 220mm