The first stage of construction is the excavation of the site for foundations and drainage to be constructed. This is the first time the site will need to be inspected by Building Control in order to comply with building regulations and achieve certification at the end of the build.
If not cleared already, it will be necessary to remove any obstructions from the site such as plants, patio slabs, fencing or anything else on or around the position where the extension is to be built. If the customer does this themselves before the start date it can help speed up the opening stage of the build and save the customer money.
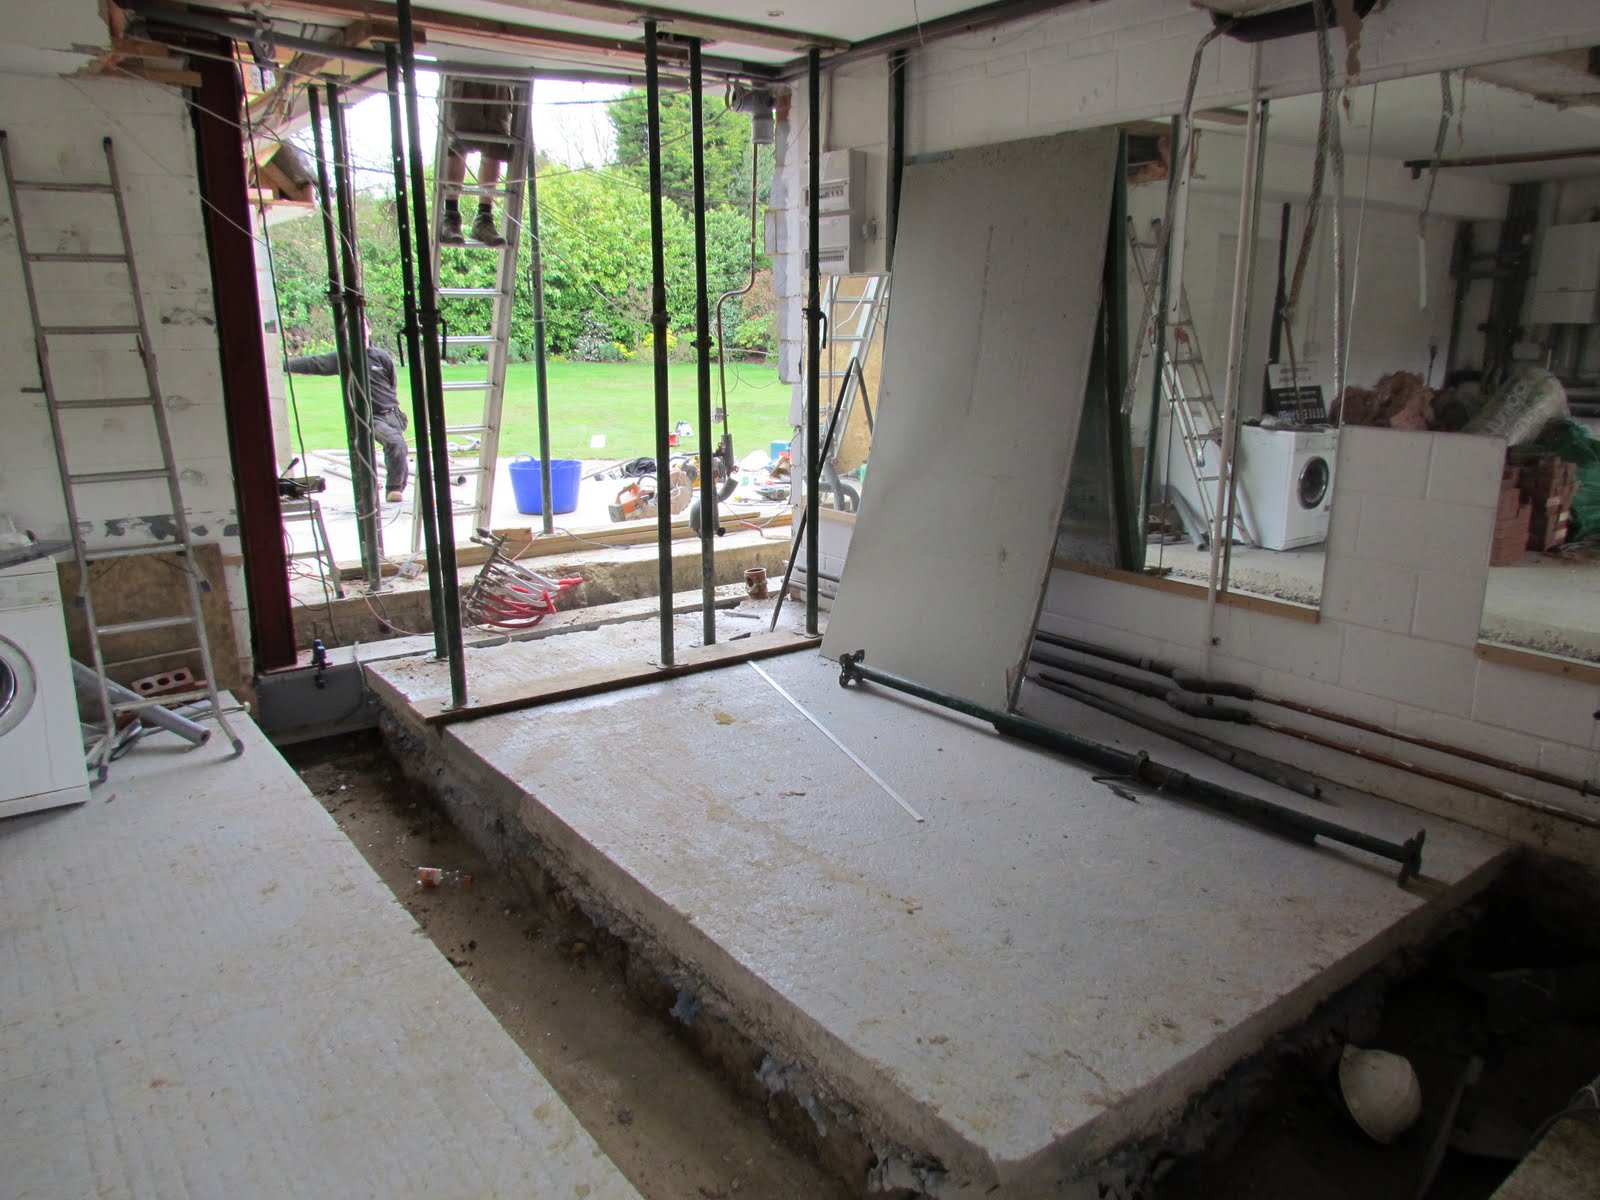
Excavation
Once the sight is cleared the location of electrical wiring, sewers, water and gas pipes will be marked using the information gathered from the survey and property deeds. Gas, water and electricity supplies will need to be cut off before excavation starts for obvious safety reasons.
It is vital that the area pre-arranged by skip permits is clear as excavation cannot start until there is means to get rid of the waste and excess soil created by the process. To minimize waste and cost, any waste or broken bricks, tiles and slabs may be saved to use as a new drain-away if required. It is easy to under estimate the volume of waster created by excavation. Soil removed expands by up to 50% as it is no longer compacted. Soil can weigh up to 2 tonnes per cubic metre.

The amount of traffic for the first few days is likely to be the highest point during the build due the massive amount of waste needing removing and the need to have all the equipment and material brought on site.
Excavations are nearly always done with machinery as the process is very long and arduous by hand, accuracy is also vital at this stage as mistakes can be very costly. The shape and depth of the excavations is reliant on the type of foundations, how many levels the extension will be and what the subsoil quality is like.
Whilst the equipment for excavation is onsite, this is the best time to also excavate and construct new drainage systems such as soak-aways, man holes, sewers and new piping.
When the excavation is complete Building Control must inspect the trenches to make sure they are adequate quality and depth. Building Control will also inspect the quality of any drainage and piping installed.
Foundations
When given the all clear from Building Control, the trenches can be filled. There are several types of foundation which will differ the amount of time construction takes and how costly it is.
- Strip Foundations are one of the most common types of foundation because they are usually the cheapest and easiest to construct. They are most suitable when the ground condition is normal. Concrete is poured into the trenches (usually deeper than 1metre and 600mm wide). However, with this technique the 1 metre deep trench is only partially filled with concrete. The remainder is constructed using brick or blockwork with gaps for pipes built in.
- Trench-fill is a type of foundation which only differs from Strip foundations in that the trenches are narrower and are filled completely to the top with concrete. Depending on labour costs, it can also be cheaper because it negates the need for difficult below-ground level brickwork. Any pipping must be positioned into the trenches before the concrete is poured.
- Pile Foundations are only cost effective when the ground is unstable so foundations must be deper than 2 metres. this technique involves driving concrete piles into the ground at 2.5metre intervals. Concrete beams then span the distance between the piles to creat a solid and secure foundation for brickwork. This type can be required in built up areas which lack the space for large excavations and trenches.
- Raft foundations are usually the last resort for those with unstable subsoil prone to movement or subsidence. This involves excavating the whole extension area as opposed to just trenches, Large reinforced concrete rafts are then placed ontop of a leveled layer of hardcore to spread the load over a large area. Despite the high cost, this work is not visible once the work is completed.
The Concrete required for the foundations can be manually produced on sight or ordered in via a cement truck. Which one is more economical is dependent on the amount required and the level of access to the site where the concrete is needed. Once the concrete is laid, it is necessary to allow 2 or 3 days for it to completely cure. This is the Third stage at which Building Control need to expect the work.
Damp Proofing
After a few layers of brickwork to take the build to above ground level, the damp proof course needs to be constructed. The importance of this being done to a high quality cannot be over stated. If poorly constructed, the new extension can be prone to mold, rot, bad smells and damage to plastering. When finished, Building Control will need to inspect it.
Mortar is then laid on the damp proofing and then layered with bricks or blocks. The Damp proofing should form a continuous barrier to moisture from the ground. If soil or beds are to be placed against the walls, additional plastic sheeting will be required.
The area within the beginnings of these exterior walls should be cleared of all top soil and organic matter that could rot, grow or expand.
Types of Ground level Flooring
Solid Concrete Floor
This is the most common type of flooring but not necessarily the best. It is labor intensive and can be prone to cracking, arching and sinking if done badly. On the other hand it is quite cheap in terms of materials and quick to make.
The process involves emptying and compressing hardcore to a thickness of 100mm, followed by 20mm of rolled or trodden down sand, then lined with a very thick damp proofing sheet which is connected to the damp proofing course on the exterior walls. Concrete is then poured and raked to a depth of atleast 100mm and then tamped down using a wooden board.
Steel mesh can be added to the concrete mix if re-enforcement is needed. Once the concrete is smoothed and cured, building control will be called to inspect the work.
Suspended Concrete Floor
This type of flooring is a lot less labor intensive, is quick to lay and is less prone to defects.
The first step is to lay down a thick polythene sheet and spray the ground with weedkiller, this is then weighed down using sand. Beams are then laid using the exterior wall foundations as the support, the maximum beam size is 8 metres and anymore than this will require a load bearing foundation in the middle.
The gap beneath the beams to the sand and polythene sheet below should be at least 100mm but 150mm is the recommended gap.
The beams are in the shape of an inverted capital “T” which allows 100mm deep concrete blocks to fit between the beams, Once in place the floor is grouted with 1:4 cement:sand.
Alternate to the Concrete blocks, it is possible to use specially designed floor blocks which contain insulation, some types make it unnecessary to fit a layer of insulation on top of the concrete floor.
Suspended Wooden Floor
These are the least popular types of floors in modern extensions for a large number of reasons. They are expensive, weak, time consuming and appear no different than a concrete floor lined with floorboards when completed.
Another reason not to use this type of flooring is that before this floor can be constructed, the construction of a solid concrete floor is needed underneath! Wooden beams are then suspended above this using metal brackets attached to the concrete block inner wall. The beams are kept in place by herringbone struts between the parallel beams. floorboards are then nailed in place ontop.